
Augmenting Form – Using the Photoshop Liquify Tool in your Photography
When producing professional, commercial work, one of the most useful weapons in a Photographer’s arsenal is the Liquify tool in Photoshop. Like many powerful tools, it can be wielded for good or subverted for great evil, and whether or not the general image-consuming public are aware, a large proportion of the images we aspire to have been “liquified”. Liquify allows you to quickly and easily manipulate the pixels of an image and view the results in real time, stretching, shrinking and re-shaping with simple clicks and brushstrokes and negating the need for time-consuming selections. As such, it’s a favoured tool for retouchers looking to tuck in the tummy or enlarge the pecs of those A-listers on billboards and magazine covers giving us all inferiority complexes. Sophisticated, yet user-friendly, when used correctly it gives results indistinguishable in their authenticity from the originals…. just with 20% more boobs and biceps!
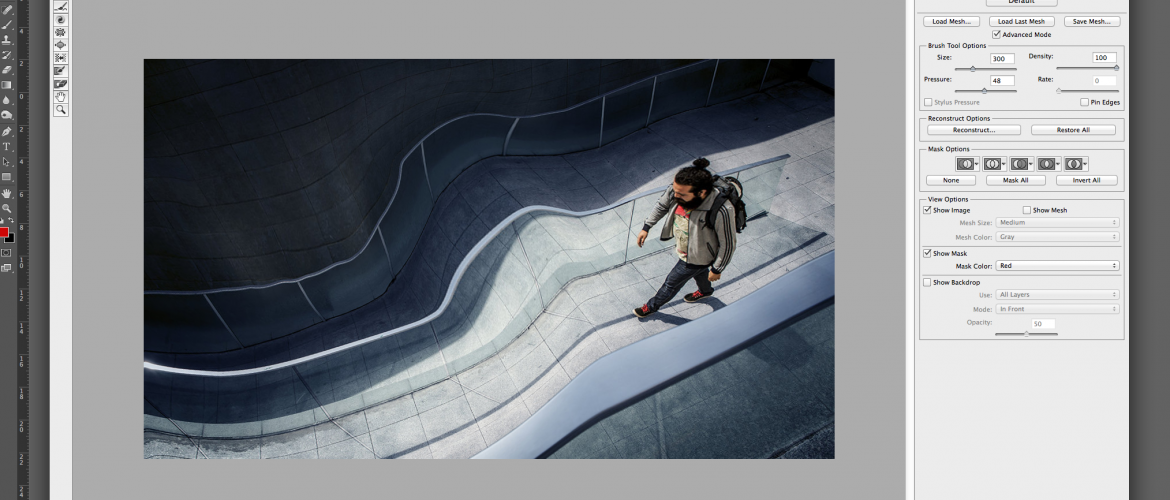
The below portrait images demonstrate the most commonly-used features of the Liquify palette. The basic manipulation tool is a brush, adjustable by size, density and pressure. The effect it has on the surrounding pixels is therefore controllable, with larger brushes affecting a wider area in a more graduated manner and small brushes grabbing concentrated clusters of pixels for relatively more abrupt shifts. The more pixels pulled into an adjustment, the more its “destructive” nature can be divvied out among them – stretching an image 10% from 100 px to 110 px is an easy alteration for photoshop to interpolate, but if you try to effectively scale up an eyeball from 30 px to 110 px, you’re asking the program to create a lot of data which isn’t there and your results are likely to be unconvincing. A little trial and error is the best way to get the hang of the Liquify tool but it’s certainly easier to flatten a stomach or shrink a nose than it is in the real world!


The images below show how the tool can be used for seamless (and not so….) restructuring of form, whether that’s the face of a model, the branches of a tree in a landscape shot or a glass vase in a product photo. It’s extremely versatile and whilst we may have our reservations about the body-image fallacies its application helps to promote, it’s also an indispensable tool we use near-daily. See our Être Cécile case study blog on Maintaining a Consistent Visual Approach for an example of one of its many useful applications and keep your eyes peeled for an upcoming video where we’ll show you the tool in detailed action. So that’s the Liquify tool. Give it a go…. profile pics need never be the same again!


