
Creating Beautiful Graduated Backgrounds for Product Photography using Sharks Teeth.
This little technique is one that I use regularly, and most recently for one of our regular homewares clients – ALLORA (www.allorashop.com). Allora commissioned us to help us create their overall photography style, as well as regularly photograph their new ranges.
My sharks teeth trick is one that I use often – a simple way to create a lovely soft and graduated effect. It will give your image a subtle backdrop that gently disappears, in turn helping the product to really ping in the forefront of the frame – we want the focus on the product after all, not on a dark chunky shadow in the background. It also makes a change from an all-round vignette that so often gets overused.


Back to the shoot that sparked this idea. I’m shooting a range of oven and tableware – a series of styled & lifestyle photographs together with a range of simpler product shots. Instead of shooting on a white seamless background for the product shots I’m going to photograph on whitewashed tongue and groove – it gives a more rustic feel, and will help them to stand out from the crowd a bit which is important to their brand and high-end appearance.


Time to get out the scissors – to achieve this effect is really very simple. It does require the use of a soft box, swimming pool, fish fryer, coffin light – or something appropriate to the size you’re working with. If you’re creatively minded of course, you can fashion any light source for the same effect – greaseproof paper over a frame with a light above perhaps? But that one’s for another blog…! In this instance I’m making the assumption that you have access to some sort of lighting gear.


My light bank is positioned above the product at a slight angle towards the camera. The next step is to cut teeth shapes into a sheet of black card, large enough to cast your shadow across the entire product and background in your frame. You can cut your teeth in a straight line or as I often prefer, in a semi circle to give a softer graduation. Experiment with shapes, especially when photographing irregular shaped objects – you can cut your teeth to fit whatever effect you like.
Once cut, attach the card to the back of the light bank. In my example I’m using a wafer soft box by Gary Register, along with one of my favourite accessories, a wooden sprung clothes peg. (known in the film industry as a C47). Clothes pegs are great for attaching all sorts of things to hot lights, where tape would melt of course.
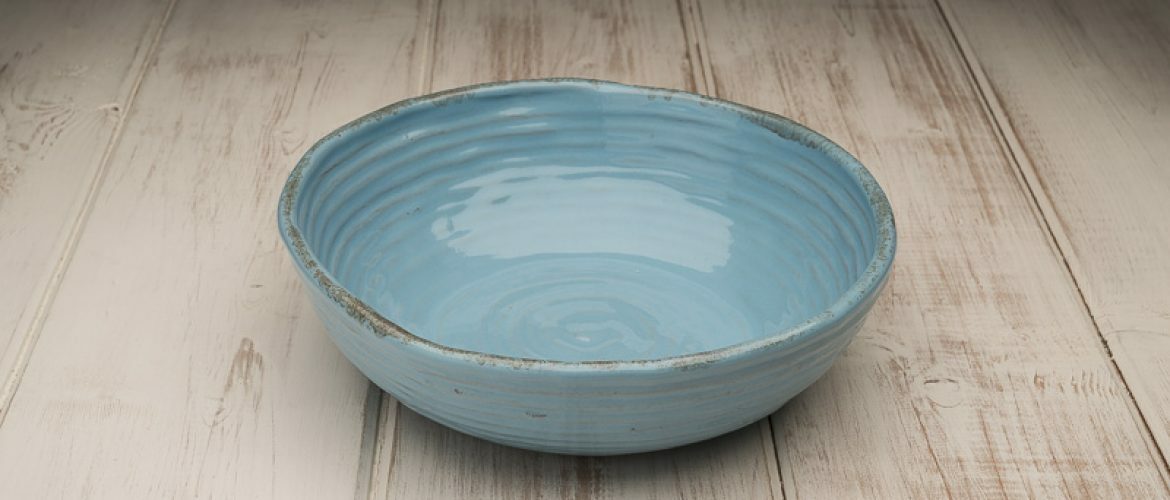
Move up or down to get the desired gradation and when you’re happy, you’re good to shoot – the only other additions to the lighting on this shot is a small fill card to camera left to help soften the shadows.


As with all product photography a good clean is essential – while it’s easy to retouch out one or two marks on a few files, when you work on larger volumes of products, those few specks all add up. Sometimes just a few seconds prior to shooting will save hours in photoshop later. Cotton gloves are a good addition to any studio or home setup that shoots products. Use a soft paintbrush to give each product and background a dust when needed.