
The key to jewellery photography and retouching
There are three levels of detail that you can go into when shooting jewellery.
The first and quickest is a basic ‘one shot’ approach. You light the item to best represent an overall detail – one that shows the metals, stones and shine. As items are small, you will have a shallow depth of field, which allows the back portion of the item to go out of focus.
The second is to light each main element of the piece individually, and ‘stitch’ these shots together in post production. In basic terms, you light the stone / gem with a hard direct light, and shoot an image that ignores how the rest of the item looks. You then shoot with a soft light to best represent the metals. It might be that there are also additional shots to be taken depending on the item. At a minimum you will be shooting 2 images per item, sometimes up to 5 or 6 for detailed pieces. In post production, we use detailed masking techniques to merge shots, taking the best from each section.
The third element is as above but adding another technique known as focus stacking. This brings the whole item into sharp focus so unlike the first and second options, there is no blurred soft focus areas. We do this by shooting the item 5 – 10 times in an identical postion, moving the focal point progressively back as we shoot, and then stitching these together in Photoshop in a similar way to the above. Depending on the complexity of items, this can result in 10 or 20 shots. The alternative to focus stacking is of course to shoot at a higher, more overhead angle, rather than head on, which naturally puts the whole item on the same focal plane.
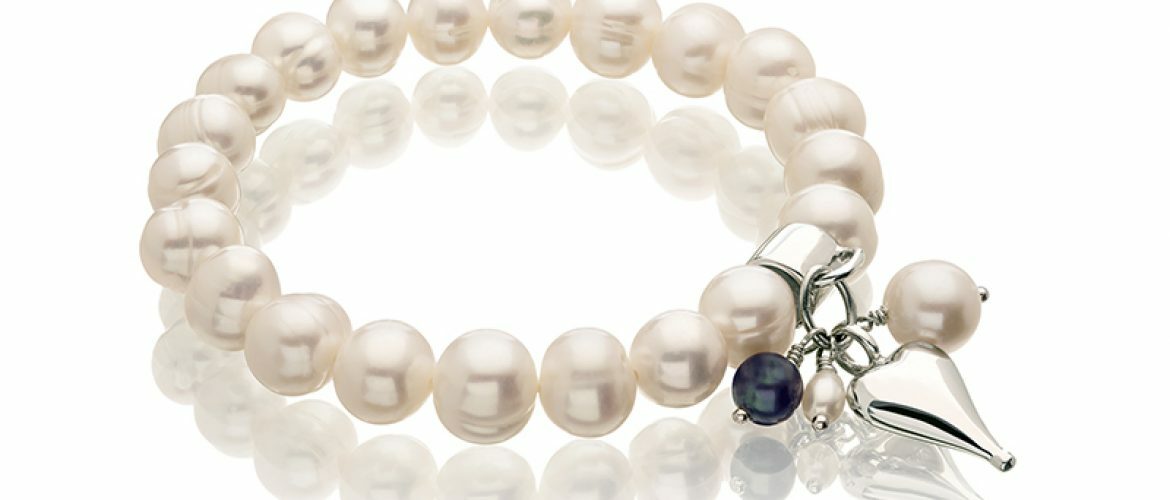
Shooting metals often works best using a soft grey background. This makes it essential to cut out the items if the end result is to be consistent across multiple items, or on a pure white. Without focus stacking, it is more difficult to cut out items cleanly, as you need to take into account the varying soft focus. Cutting out a soft focus portion of an image with a hard edge creates an unnatural effect. Many high end jewellery designers favour the off white background (such as Tiffany) or even darker backgrounds (Cartier / Bvlgari). There is no right or wrong way, but bear in mind that sparkly and shiny items can actually often appear less so when on a pure bright white background. The contrast often helps to bring out the shine.
Retouching
The actual shooting is only element of jewellery photography – it’s the retouching that really determines both the cost and the final quality and feel of the shots.
If you’re producing images with many portions and stitching together, this has to be done first to create what will be the final image. This we always do in house as it involves discussion with the photographer and a level of expertise that is difficult to find by outsourcing, unless you’re using a specialist company.
As you would expect, there are again different levels of detail that you can go into with the retouching of the final image. A basic clean up, spot removal, colour balance and cut-out job is the essential portion regardless of shooting techniques.
After this, and depending highly on the final size of the image, and whether it is for web or print use, you can address: Metal finishes – airbrushing and adding shadow and tone to edges, sometimes to the point that the metal becomes an almost rendered image! Sharpening of gemstones – by creating a heavily sharpened layer, you can punch through to this to highlight the sparkly elements of the stone, and create a real impact. Other Gems can be brought to life with an increase in vibrancy and saturation levels, and by general airbrushing to replace transparent or less vibrant portions.