
Shooting Shiny, Shiny Shoes – Lighting Tips for Shoe Photography
We recently shot a large number of shoes for a client on a tight schedule. Whenever you’re shooting a big batch of items, it’s important to find a good all-around lighting solution, not just to present consistency across your edit, but to save yourself time and headaches in the studio. Our client wanted white backdrops and small, soft shadows so a big, diffuse light source was a given. We used a large softbox mounted on a boom directly above the products as our key light and a second softbox on a stand to fill in the front face and any shadows forming underneath heels. Additionally we used a mirror to fill and soften the shadows created under the toes or bounce light into the cavities of items such as open-toe sandals. A mirror is obviously highly reflective and makes it easy to direct the light so can prove a simple but really useful aid for this type of work.

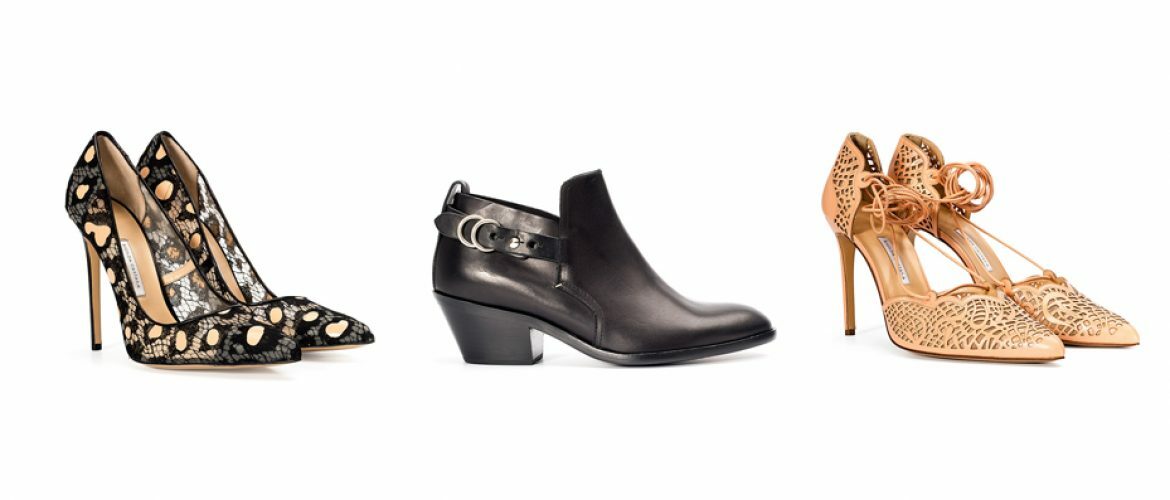
Shooting from a tripod with a fixed focus point, we marked the ideal placement of the shoes with a pencil so we retained total consistency across the range and were able to blast through the batch relatively easily. Where we sometimes had to pause was in dealing with some of the more ostentatious pieces, those whose surfaces were particularly shiny, reflective or dual-tone. A highly reflective surface will bounce light at the camera lens much like a mirror. This light is a reflection of the source and if that’s a great big white box like our softbox, the true nature of the material’s surface will not be revealed. It’s also likely you’ll experience “clipping” – where there is no detail retained in this area due to total over-exposure. By “flagging” the light – further diffusing it, or using bits of card or other stoppers to interrupt it, it’s possible to add detail, texture and a tonal range back into the reflective surface area. Since we were shooting on a tripod, we found it quicker and more practical to keep our lights still and achieve our results in two shots which were easily comped together afterwards.
Comping together two very similar shots is quick and easy when they are taken from an identical perspective, such as those above. One can be layered on top of another in photoshop, and provided the layers are correctly aligned, the desired areas from either shot can be painted in or out of the composite using layer masks. For more on that, see our Introduction to Layer Masks in Photoshop blog post.


There you have it; shiny, shiny shoes needn’t give you the blues, just shoot them in twos…. oh dear…. sorry….


