Photography file formats explained
Whilst this post might not blow the skirts up any seasoned photographers, you’ll probably know that working with a variety of people, not everyone understands the fundamental differences between the various file formats. By having a clear understanding of them, you can best advise your clients and save yourself time and work. A client may automatically ask for TIFFs, but if all they really require is small web-ready images for an online store, you can probably save both of yourselves time and drive-space by opting for jpegs.
Let’s have a look at the 4 main tpes:
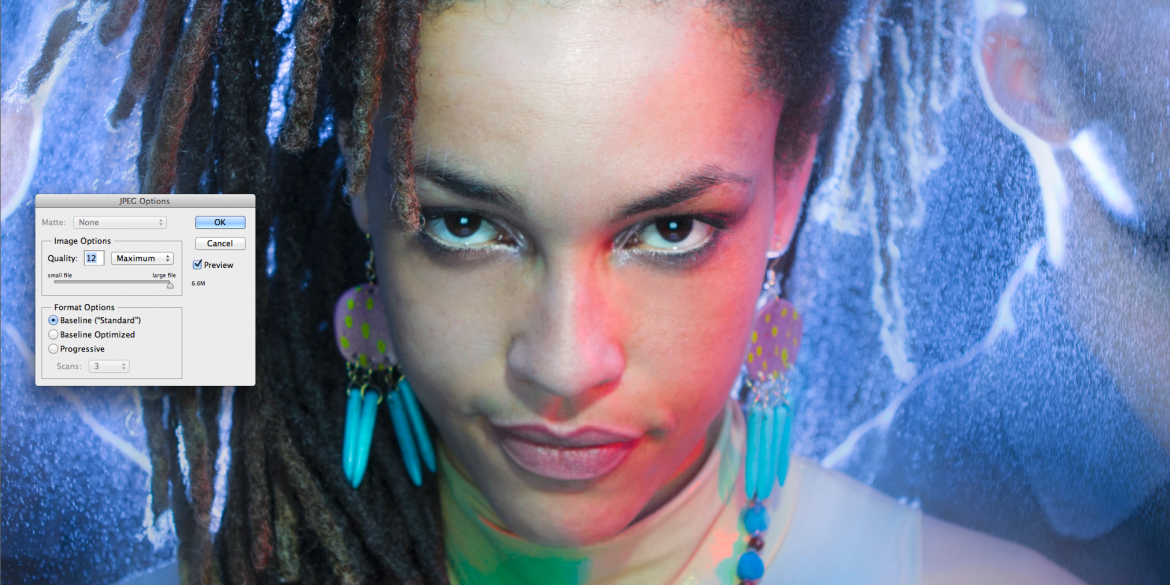
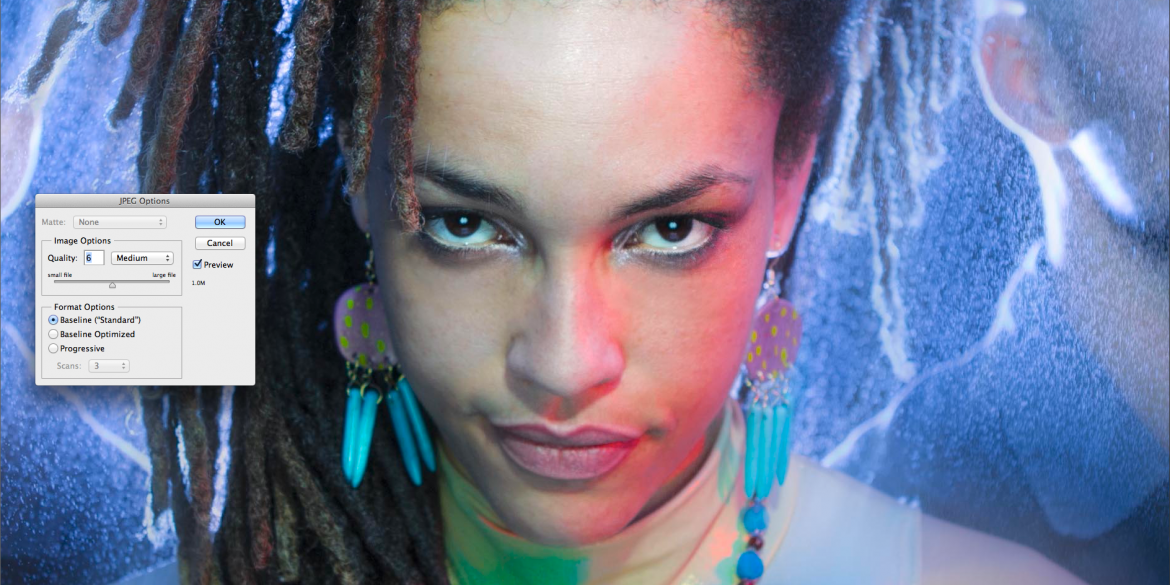
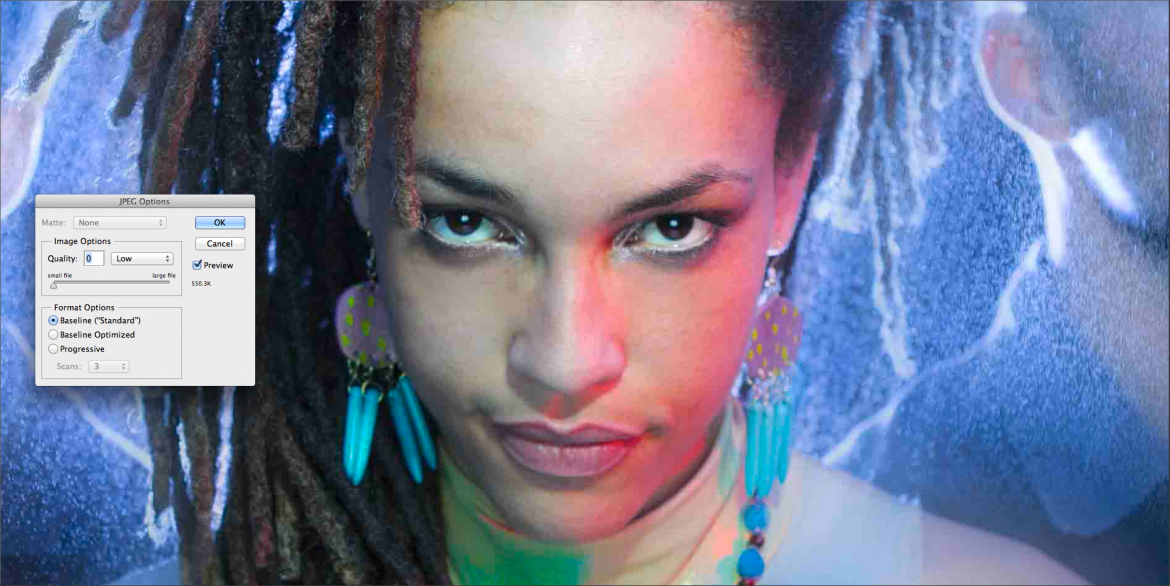
JPEG: The Joint Photographic Experts Group format is the most common format and the standard method of image compression used in both digital cameras and image-editing software. It supports CMYK, RGB and greyscale colour modes and preserves the subtlety and range of hue and brightness in a picture well. JPEG files can be compressed selectively by blending together pixel variations all but indistinguishable to the eye and can therefore be stored easily, and conveyed electronically quickly for web use and online file delivery. Digital cameras will allow you to choose the resolution of output JPEGs and whilst most professionals wouldn’t consider going for anything below the finest compression, there are times when the practicalities of shooting, storing or sending a huge number of compressed files trumps ultra-fine individual picture quality. Additionally, editing software such as Photoshop will allow you further compression on an incremental, previewable scale meaning you can really kick every last “unneccessary” kilobyte off the finished file without visibly compromising your image.
At most standard compressions a JPEG will hold up well against a TIFF when viewed by the naked eye and the file-size is vastly smaller, but it’s important to note that the JPEG format compresses data on each saving, so if you think you might create multiple versions or evolutions of an image, it might be best to retain a “lossless” version such as a TIFF until you’re ready to print or publish a final file.
TIFF: A Tagged Image File Format is an uncompressed, high-quality format which maintains an image’s original quality. Consequently, it will take up more space on a disk than a JPEG and will take longer to transmit electronically. It’s a flexible format that normally saves eight or sixteen bits per RGB channel for 24-bit and 48-bit totals, respectively and can handle device-specific colour spaces. Whilst TIFFS are a widely accepted and well-regarded format in the print spectrum, they are not always supported by web browsers so if your client isn’t too clued up about what they want, it’s worth checking how they plan to use the files you provide in order to avoid unneccesary work. TIFFs remains widely accepted as a photographic file standard in the printing business.
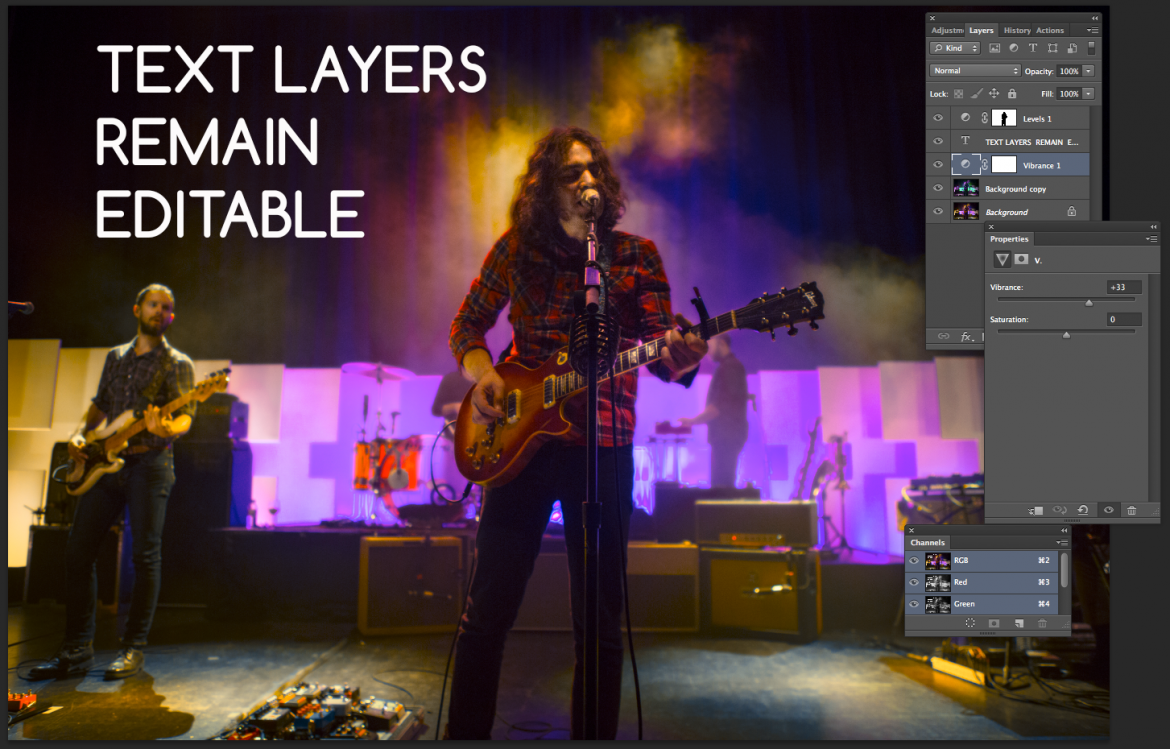
Unlike JPEGs, TIFFs retain multiple layer information in Photoshop when saved. Whilst this once more increases file sizes, it means much better options for returning to an edit and the ability to make non-destructive adjustments a client can choose to use, discard or enhance.
PSD: Photoshop documents are essentially very similar to TIFFs in all aspects but require Adobe software to be properly interpreted. Whilst PSDs are a common format in the workflow of many photographers, TIFFs are an open format, so more widely compatible and as such, likely to be of more use to a client.
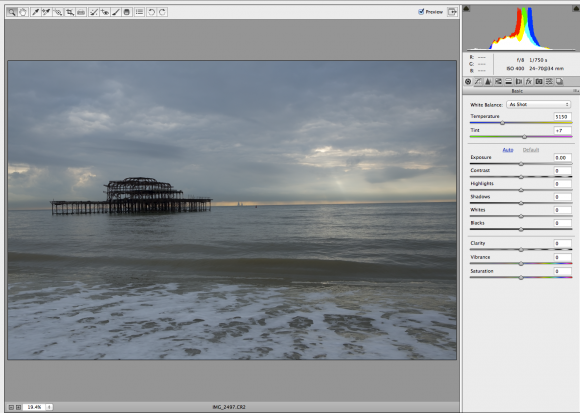
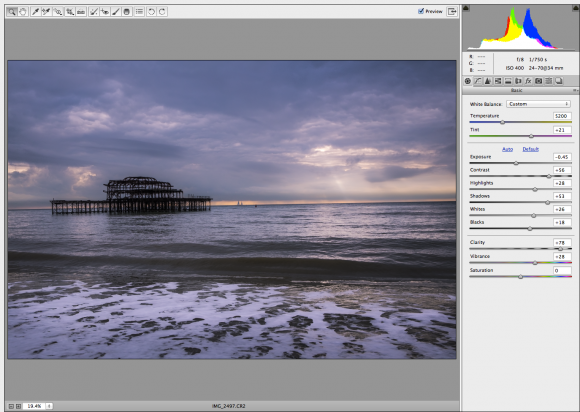
RAW: When a camera creates a JPEG, it applies its own in-built algorithms to interpret the data the sensor captures. Decisions such as white balance, contrast and exposure are dictated by the processor and stamped onto the JPEG. Whilst software then allows some adjustment of these values, with JPEGs there is less native data to work with and so the range of available values is limited. Shooting in RAW, the sensor transmits the “raw”, unprocessed data to the memory card or computer. This data contains a much wider gamut of information and allows for more creative freedom and overall improved image quality. Detail can be pulled out of deep shadows and brought back into bright highlights, white balance can be adjusted with ease and contrast and colour can be managed much more precisely to the tastes of photographer or client. Whilst it’s always preferable to aim for the best possible exposure in-camera, RAW processing will greatly help in correcting “errors” in difficult lighting situations.
The downside to RAW is the large size of the files and the extra step in the photographer’s workflow. RAW files must be processed with software before being output as JPEGs, TIFFs etc. and this can take time. Regardless of this extra step, most professionals choose to shoot RAW in the majority of cases as it affords much more flexibility in the editing process and with tools such as batch-processing at your disposal, vastly improved results are attainable without meticulous retouching of individual shots.
So there you have it. An overview of the four main photographic file formats which doesn’t tell you everything, but should tell you enough…..to bore your friends with.
Happy snapping!

