Shooting Shiny
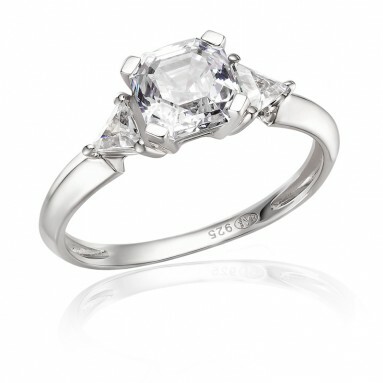
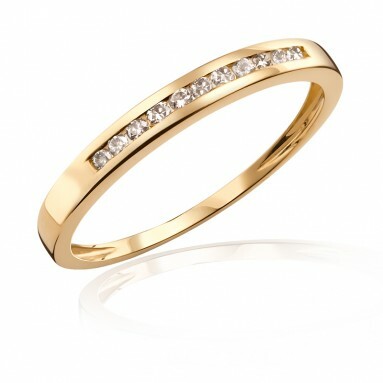
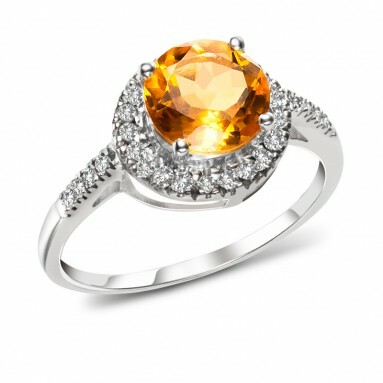
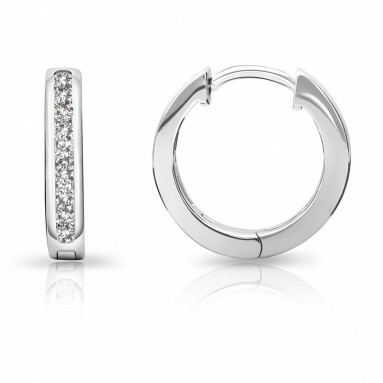
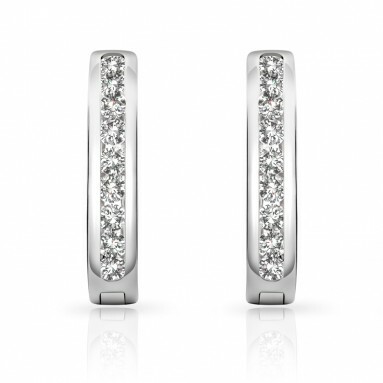
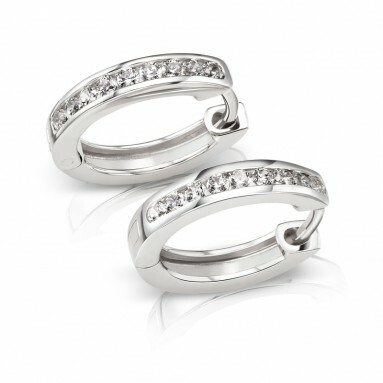
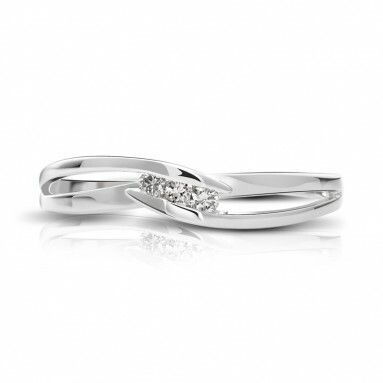
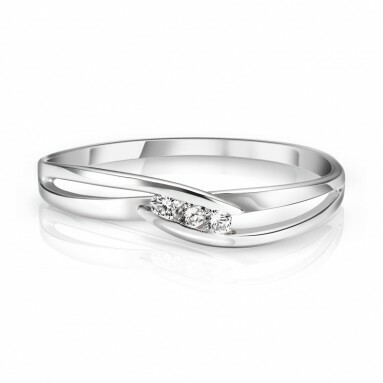
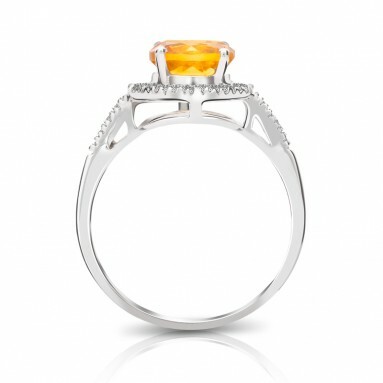
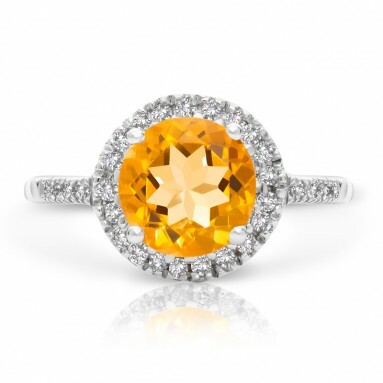
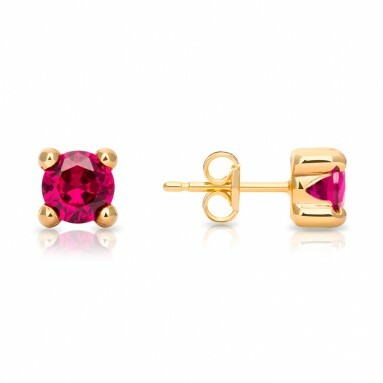
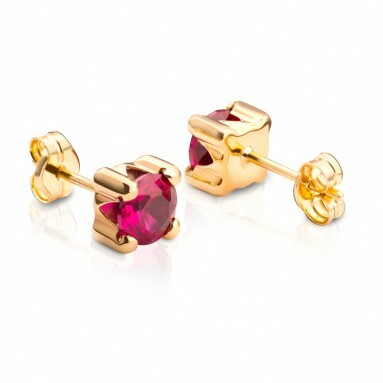
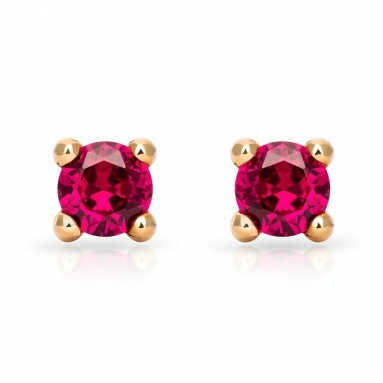
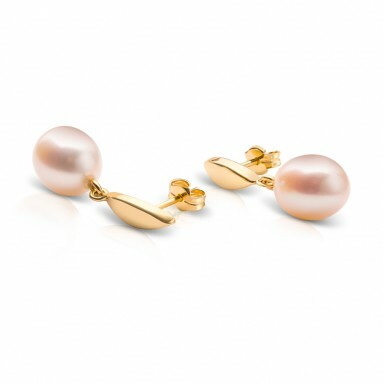
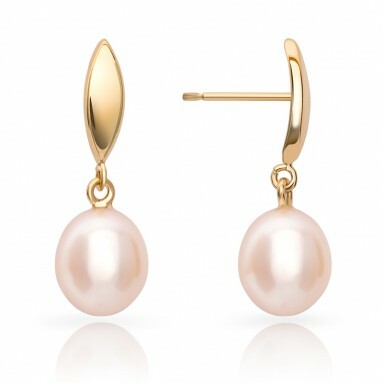
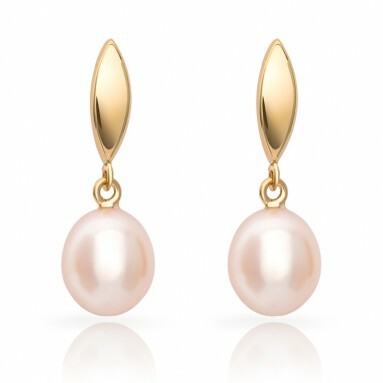
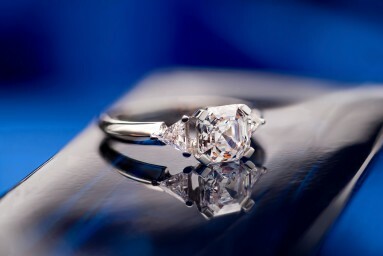
We love shooting product photography and we particularly enjoy the challenges of jewellery. Packing more bling per square inch than almost any other photographic subject, professional jewellery photography requires a near-flawless result and that’s what we aim to provide each of our clients. Using a combination of studio technique, post-production magic and 30-odd years of experience, we shoot images which will get your treasured products noticed in the bustle of e-commerce competition. Here, we reveal a little bit about our studio methodology.
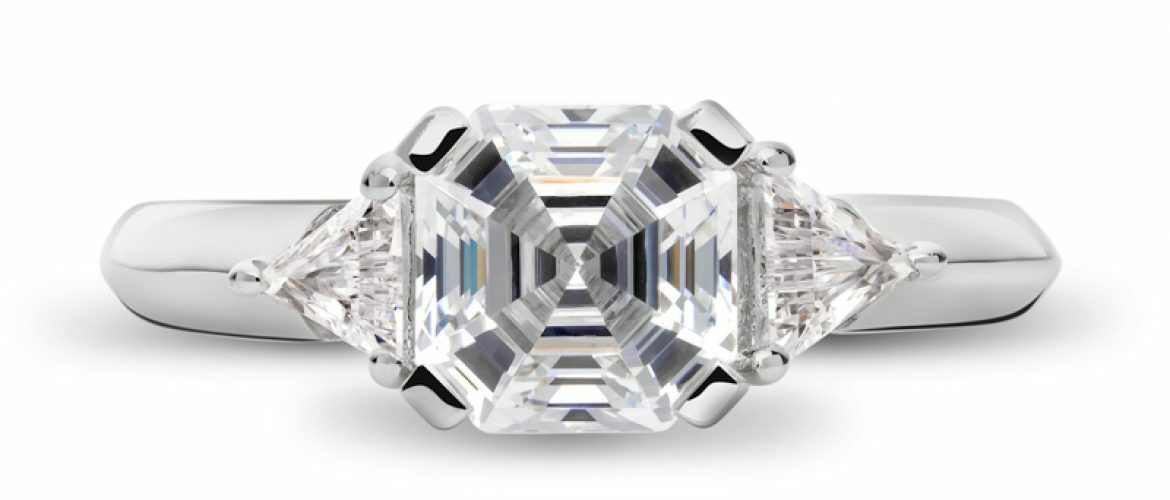
It’s imperative you start with a nice clean studio (or at least one clean corner of it!!). When shooting tiny objects up close, a bit of fluff can loom like an abominable snowman so be sure to save yourself tedious hours of post production by periodically wiping your shooting space with a clean, lint-free cloth or using compressed air to blow away any cobwebs. A tripod is another essential in product photography, avoiding shake, freeing up your hands to tweak the subjects’ positioning and maintaining a consistency of shooting angle and distance which greatly benefits collections of images. We lock our focus point so we’re certain the sharpest part of the image is right where we want it and we tend to shoot with a fairly narrow aperture with jewellery as the close-up nature shortens relative depth of field. For hero shots, we sometimes employ focus stacking for glorious, omni-present sharp focus. It takes a few shots and a little patience, but the results, as you can see below, are stunning. See more on that technique in last week’s blog on Focus Stacking.
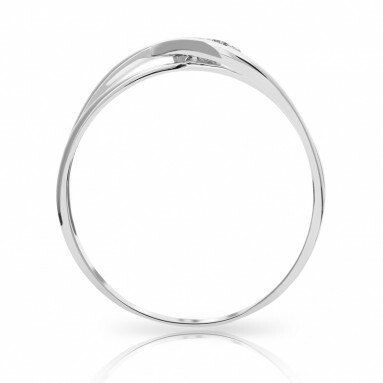
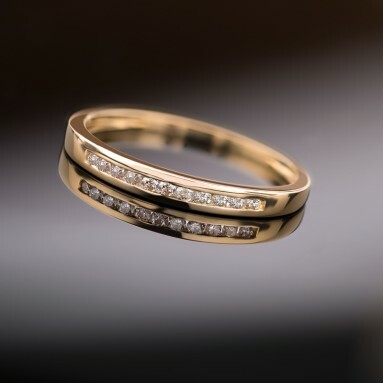
We never forget the colour checker, to ensure colour reproduction is faithful. Whilst always advisable in product photography, this is especially important when customers are potentially spending thousands on items they haven’t yet physically held. Often a client will specify exactly what they want in terms of composition, shooting angle and style, but when they leave it to us, we like to give a few options, based on what we thinks works best. Although dependent in part on the detail of the particular piece, there are tried and tested angles which best showcase items such as rings, providing the online customer with as much information as possible. The more confident they feel about exactly what they’d get, the more likely they are to hit BUY!
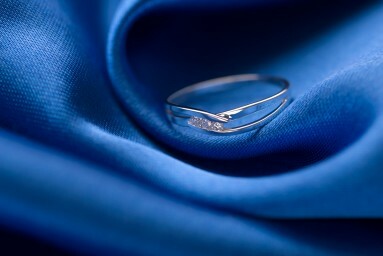
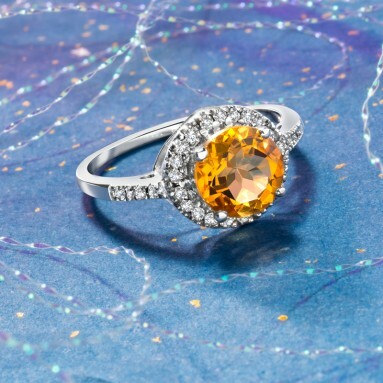
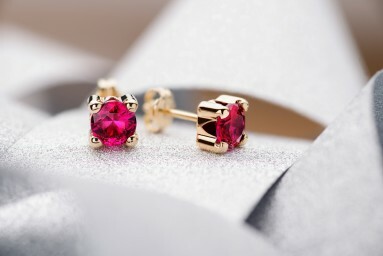
We ALWAYS shoot RAW for optimal image quality and editing latitude. It might be WAR spelled backwards, but you don’t have to fight it. If you’re not already, get aquainted with the format – there’s really no comparison to shooting jpegs. We also experiment with our vast array of backdrops and shooting materials, gathered over the years to compliment just about every type of subject. Some sites such as Amazon demand as a default the classic white cutout. Whilst this is definitely an effective and concise showcase for the subject itself, more and more sellers are appreciating that styled photography gets noticed in a digital ocean of white, so we aim to shoot backdrops which add intriguing visual interest for the customer, and where possible enhance the allure of the actual product, re-inforcing the qualities of the brand, be that rustic charm or elegant chic.
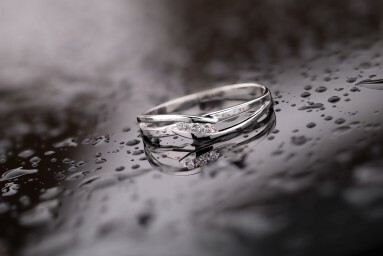
So that’s the easy bit explained. The rest of what we do in the studio is playing with (mostly diffused) light and trying to avoid refelecting our own grinning faces in the gold band or posh diamond we’re shooting. Jewellery is one of the trickiest subjects, with curves and twists, minute detail, shiny and reflective surfaces to compensate for. The key is getting the light where it needs to be, both directly and reflected. There are whole books written on how to tame it in the studio, so needless to say it takes some mastering. Hopefully we’ve made it look effortless, but some of the magic actually occurs in post production and in next week’s post we’ll give you a little insight into that.
Thanks for reading.

