
10 Top Product Photography Tips
Yaaaaay, another “Top 10 this or that….” blog post!! Ok, so the internet might be littered with them (Don’t get us started on our Top Ten “Top Ten” blog posts….), but that doesn’t mean they’re not occasionally useful and, since Product Photography would definitely be our specialist subject were there to be a nerdy photography version of Mastermind, we thought we’d share some of our top tips with you all, in no particular order. Undoubtedly we won’t cover everything and on a different day we might give you a slightly different Top 10, but it’s Thursday, we’ve just had lunch and here goes….
1: Focus: There’s no set rule as to what aperture to use in product photography but an unwritten one would be ensure at least part of your main subject is in focus – that’s one way a viewer will know what the main subject of the photo is, particularly when including various elements. Use a fixed focal point for maximum control and go manual if your camera is struggling to focus automatically.
2: Get support: Tripods are practically essential in product photography. They allow you to compose more carefully, eliminate camera shake and retain consistency in the shooting angle across a range of shots, especially useful when shooting product collections. You may decide it’s best to keep the camera completely still, mark a spot and swap only the products from one shot to the next.
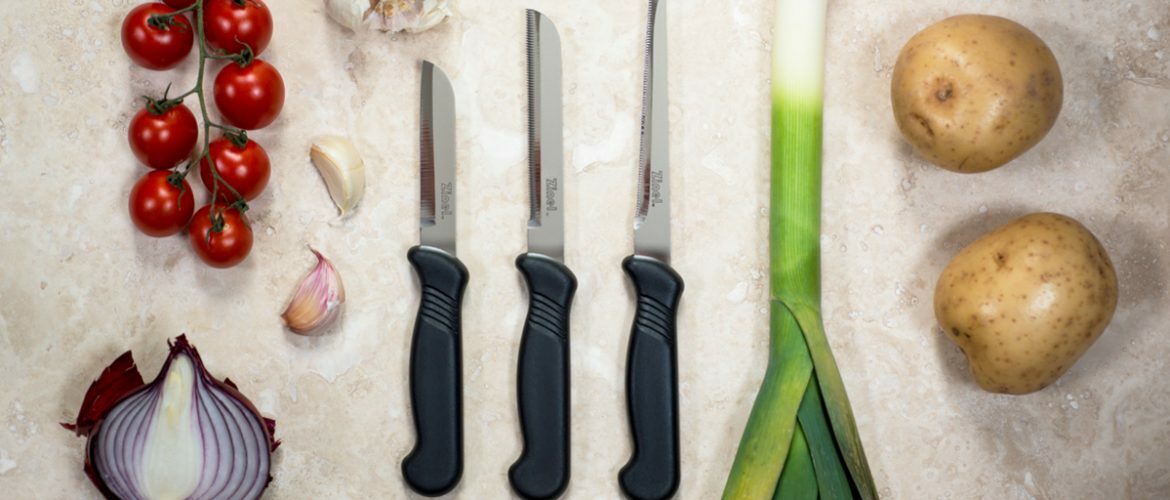
3: Be composed: Composition is fundamental in photography. Product photography often calls for lifestyle images, where subjects are shown in use or arranged with relevant items, but even when shooting more simplistic cutout shots, the position of the subject, its proximity and angle to camera are vitally important, not just in displaying relevant visual information to a viewer, but in creating an aesthetically pleasing image with positive connotations.


4: Let there be light: No discussion of photography practise would be complete without the prerequisite mention of the importance of light quality, but it’s inescapable. The manner in which you illuminate your subject dictates the way your viewer “reads” it (and your brand) so try to get it right. Generally speaking, soft, diffuse light is preferable to hard, contrasty light, revealing form and tone free of strong shadows. We frequently use strobes with soft-boxes, umbrellas, bounce cards, honeycombs, snoots, etc, but you can get great results simply using the light from a window. Non-direct is best, so north facing and preferably large. Ok, so you won’t be able to shoot much at night but that’s when you can sit and edit your shots from the day prior!!
5: Think Back: Whilst a clean,white background will show off your product in all its stark beauty, free of any potential distractions, a well chosen backdrop can really make a photo sing or give real-world context to an item. Keep a store of background materials and consider when shooting what setting will best sell a product’s virtues or create desire in a potential customer’s beating, consumery little heart.

6: Check please!: Whilst we often take leave to stylize the look of products in images, a key requirement in e-commerce is the accurate portrayal of goods so customers don’t feel misled when the postie drops them off. At the very least, a grey card is essential for accurate white balancing, and a colour checker can be very useful in post – for more info, see our blog on using colour checkers here.
7: A stitch in time…: Whilst we generally love editing (spotify, podcasts, copious amounts of tea and biscuits – what’s not to love?), digitally removing the same strand of hair or fluffball from 200 product images is not the reason we got into photography! Get some cleaning spray, a decent rag, even a mini hoover or some compressed air and intermittently check your shooting area is clean. A few real-world minutes spent dust-busting could save you DAYS in the digital realm!!
8: Mix it up: With an abundance of competition on e-commerce sites and a proliferation of cutout images, get your products noticed with interesting shots. Unusual angles may catch a viewers eye and reveal alluring details. Close-ups show texture and build quality and lifestyle shots let customers fantasise about the real world role your goods could play in their hitherto incomplete lives!


9: Go Long (..ish): Generally, you want to avoid wide-angle lenses as they distort perspective. We tend to shoot as much as we can full frame with an 85 mm lens, although the odd huge item means we might need to back out of the studio door into the carpark to get it all in frame! Macro and tele lenses can be great, but beware the shorter depth of field when picking aperture and applying your focus.
10: Practise: There it is folks, the cop-out last tip on so many lists! It’s true though; keep practising, experimenting and improving your craft. Different materials and forms react differently to light (just try shooting curved glass for the first time if you don’t know what we mean!), so keep learning how to get the most our of your subjects and your photography and hit us up with your top ten down the line.
Thanks for reading.


Click here to see our Lifestyle Product Photography gallery and read about our services