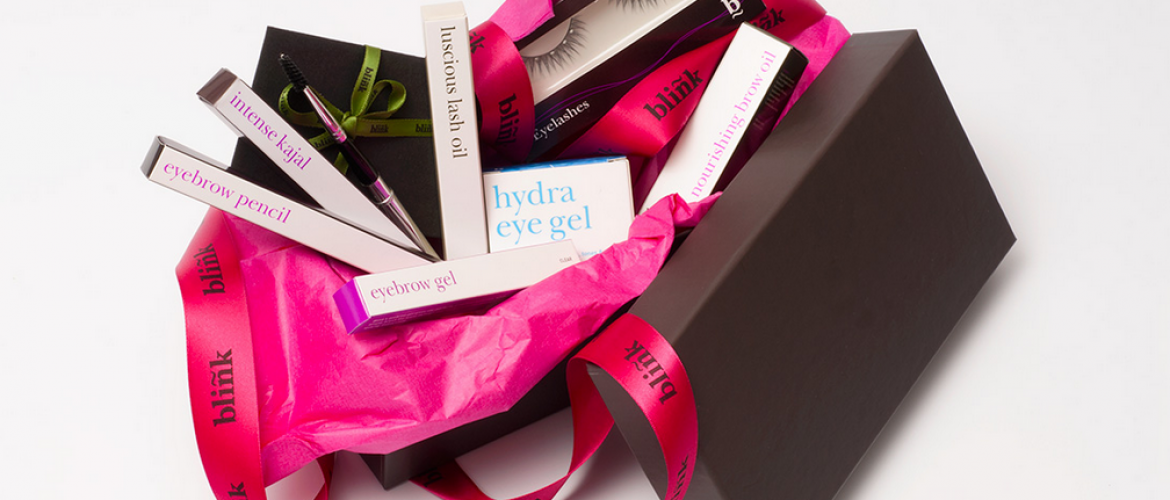
10 top tips for better product photography
Product and packshot photography is a necessity for anyone wishing to market their goods, whether online, in printed material or for advertising. There are no hard and fast rules when it comes to capturing product images, but here we’ll give you ten tips that will help you on your way to better product photography, no matter your subject.
1 – Don’t lose your focus
Focus. It may sound obvious, but learn your cameras focus system. If you have a camera that allows it, use spot focus. It ensures you get it sharp where you need it. Again, if your camera allows, use manual focus to get optimum control, especially useful on a subject that is flat and featureless ( a white box springs to mind) where it helps to place something contrasty in shot to focus on.
2 – It’s all about balance
White balance. A grey card and colour checker are indispensable accessories for product/packshot photography. Getting the colour right is vitally important, especially if you plan to use your shots for an e-commerce site or a catalogue. Use a grey card to white balance your camera at the start of each session and the colour checker in the first shot of the session – useful later in post production – see our blog on using colour checkers here.
3 – Manual labour
Manual settings. If you seriously want to progress your photography, ditch the auto settings; great for snapshots, but absolutely useless for any type of controlled photography. Shooting in manual mode gives you complete control over shutter speed and aperture – essential when shooting against a white background. Regardless of background though, get out your grey card again and take a meter reading of that. Fill the frame with the card or it won’t be accurate.
4 – The long and short of it
Lenses. As a general rule, a longer lens for product photography gives the best results. An 85mm on a full frame sensor is just about spot on for most tabletop work, equally a 50mm on a cropped (DX) sensor is pretty good. Avoid wide angle at all costs, it will distort your product. Going longer can give nice results but your’e going to struggle with depth of field.
5 – You’re going to need support
Tripod. If you haven’t already, invest in a half decent one. Shooting handheld is fine to a point, but a tripod will allow you to make adjustments to your set and lighting whilst maintaining the same viewpoint. A tripod is also essential if you are using daylight or continuous light to allow for smaller apertures and long exposures.
6 – It’s behind you
Backgrounds. Shooting against a white backdrop is a great way to show off a product and essential if you plan to sell in the Amazon way, but it’s also nice to throw in a styled shot or two or to use an alternative background.
7 – Let there be light
Lighting. Yep, we’re banging on about lighting again, but it really is key. No matter how fancy your camera is, you won’t fulfil its potential until you have some understanding of how light works. To keep it simple, there are two types, hard (midday sunlight) and soft (overcast day). Products on the whole look best in soft, diffused light. Don’t rush out and buy the first light tent you see though. You don’t need one and we would be the first to steer you clear of a great glowing cube. Instead, use the wonderful free light source that every home and office has – windows. North facing if you have one, no direct sunlight and consistent light throughout the day. Large windows will give you the softest light, with smaller giving a more directional light – great for those styled moodier shots. Use fill cards to soften shadows. The only downside is that you can obviously only work during daylight hours. So, if you have to photograph into the night or have no windows you will need to invest in some form of lighting… and possibly a less depressing home.
8- Don’t rely on the post
Image editing software. Learn the basics; good cropping, tone correction, sharpening and retouching of small blemishes will all help to give your images a more professional look. Don’t rely on post production to save badly exposed or lit photos though. Aim to get as much right in-camera; it will save many wasted hours in front of a computer screen.
9 – Don’t be negative about raw
Raw format. It’s the digital equivalent to a negative or transparency – totally non destructive (unlike film) and contains way more information than a jpeg could ever dream of.
10 – Keep it clean
Cleaning. Keeping your’e products free from dust and marks can be a challenge, but you will appreciate it when it comes to editing. Dust and fingerprints are two of the most time consuming things to fix in photoshop, especially when it only takes a few seconds to clean at shooting stage – you’ll appreciate it the first time you shoot a few hundred products!


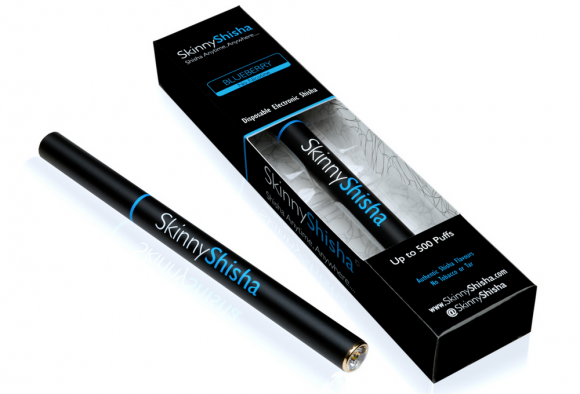
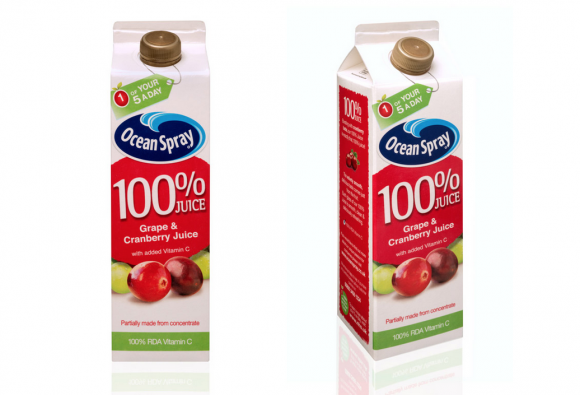


A great lighting and a plain background can make a product shot look better always. And after taking the shots if needed then just apply some basic editing task on that. Thank you for listing all of the other points here as well.
Product photography is the most important part of graphics design. Great post .thank you.