Gemma Clark – Internship at Photography Firm
Internship at Photography Firm
Introduction
When I started at Photography Firm, my aim was to learn as much as possible in my six week internship. I wanted to get more experience in working in a studio environment and the process of editing and working with clients, which is exactly what I did! I started off enhancing my photoshop skills, learning simple things like finding easier ways to make backgrounds white quickly and tidying/spotting products! I watched Retouchers create the invisible mannequins, which was new and interesting. Then going in the studio, seeing which equipment is best for different shoots and then seeing the start of how to create invisible mannequins, and seeing how to light different products.
Archiving photos for website and using WordPress
During my first week at Photography Firm, I started looking at all the past work that they had done in the studio. They wanted to start putting all of the work on to the website to create a gallery of work so that future clients can see what they have done. Before starting here, I hadn’t used Lightroom before and didn’t know what it was really used for. The studio use Lightroom to create catalogues and file all the images, and that all the images go through Lightroom to be resized and named before being released to clients or the website. I can see how using this software would benefit me in my own work in the future.
WordPress is something that I have always considered using to create websites but have not actually used it before. I started off uploading and posting the images to the website.
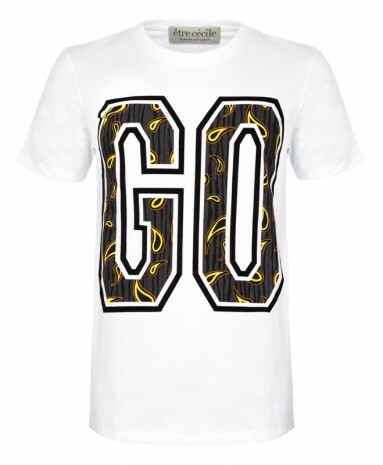
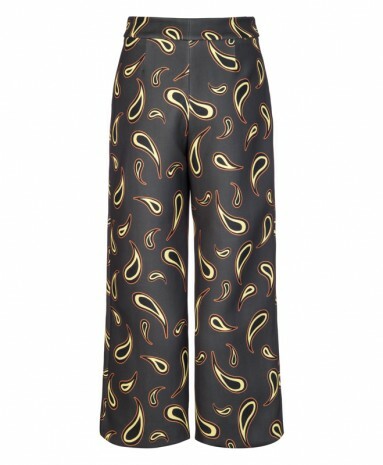
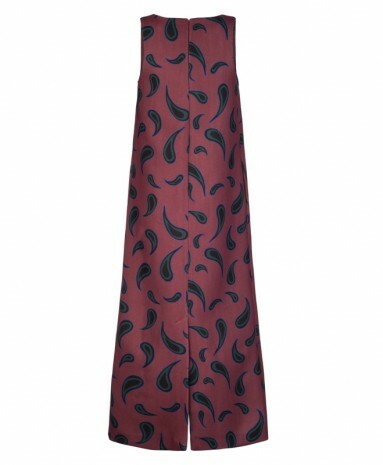
Etre – Cut outs
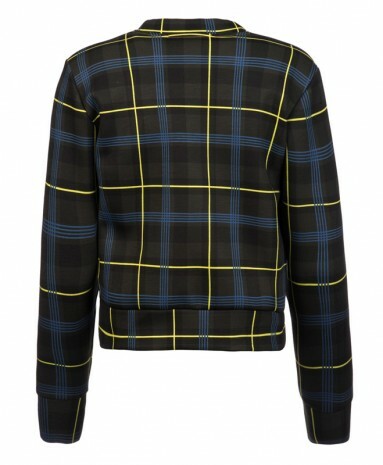
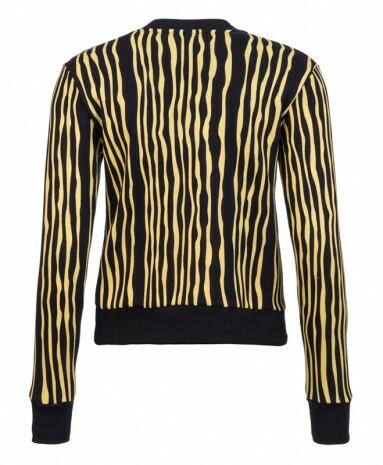
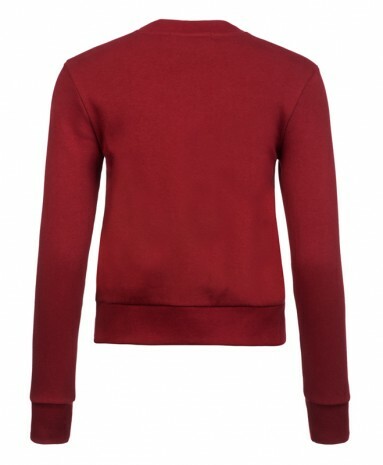
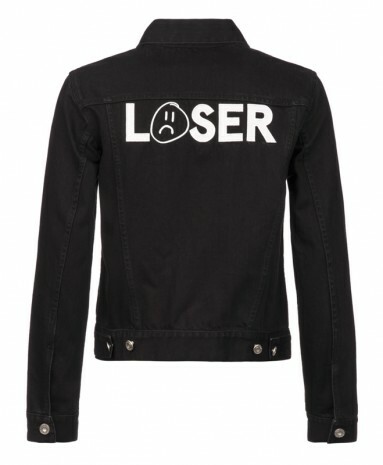
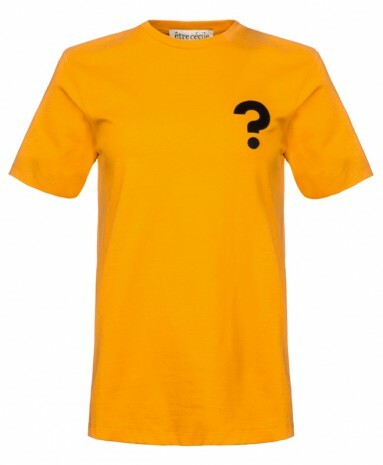
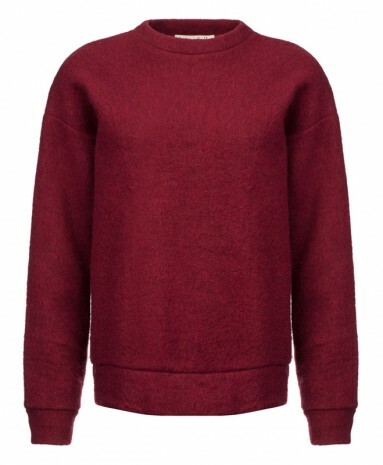
I started off by watching one of the Photoshoppers create the invisible mannequins. I was amazed to see how they created these, as when the image is photographed you can see the mannequin at the front of the jumper where the label/back of the jumper should be. They selected where the label should go and copied it in to the selection, and used the liquify tool to move it into place to make it lined up with the jumper. Its one of those things you don’t really think about until you watch the process. This was quite a big client and Photography Firm photograph a lot for them. There was quite a lot of images to go through and edit to make it fit the client’s specifications. To make it easier for for the retouchers, i started to cut out the image in photoshop to make sure the background was white, which made the process a lot quicker.
Pharmacare – Spotting
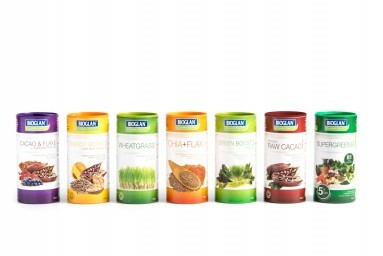
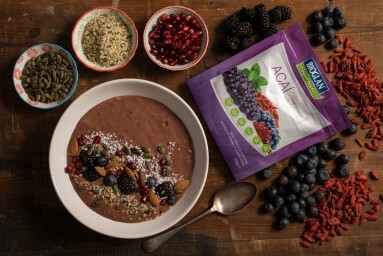
The images for Pharmacare needed spotting as there was a lot of dust to remove from the product. This process was slowing down the retouchers’ time and so i took theses images and cleaned them up ready to send to the client. Although i have used this technique before, i learnt that just by changing the curve, it adjusts how much dust you can see so you can edit more out so it produces a much cleaner image as a result.
Etre – Shoot
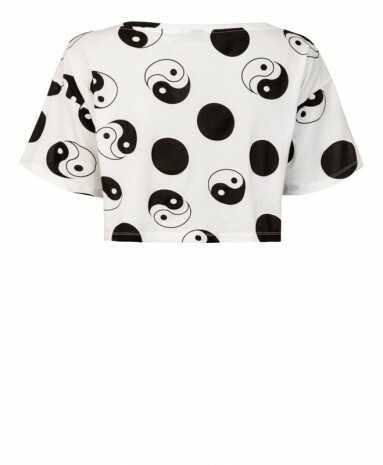
For this shoot, we were photographing the invisible mannequins. I looked how they lit the mannequin to make it look 3D. The whole process was interesting to watch – they started off by making the clothing lined up and look straight/level on the mannequin. Obviously when you photograph you can see the of the back of the jumper from front view. The way this was photographed is to put the jumper inside out and hold it up. Then when in photoshop the labels cut out and placed in the correct place. Whilst I was photoshopping the mannequins, I learnt how to create the reverse of the garment as if you were holding it up so the label was visible.
Peter Christian – 360
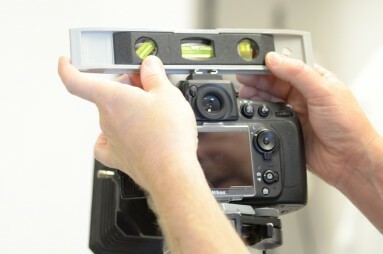
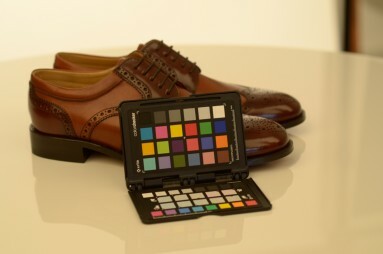
Watching how to do a 360 spin shot was quite good. Whilst setting up, I recorded and photographed the process to create a step by step guide to go on the blog. First we started off putting the turning table together and measured the centre of the circle ready to place the product. Then we cleaned the product to makes sure there was no dust. We then measured the product on the turning table to make sure that it was in the centre. After that we tried different ways to place the product to see which looked good from all angles. Making sure that everything is straight and inline is essential for this type of photography, so we made sure that the camera was level too. After that is all set up, we took a test shot with the colour card to check that the lighting was correct. After that was adjusted it was ready to go! We set the camera so it took a shot every 10 seconds 36 times, so every 10 seconds you would turn the table to show a different angle. This was the basic 360 spin. You can make the spin in more detail if you take more shots like 72 or 144 times.
When we played it back, the 6 minutes it took to shoot the product, it played for all of 5 seconds! But it can be slowed down later on!
Joseph Kigonya – Spotting
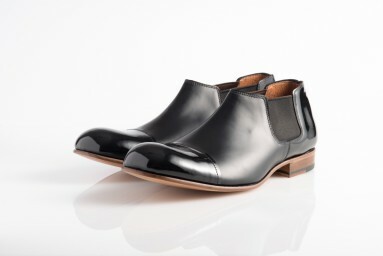
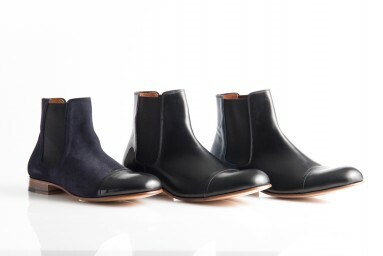
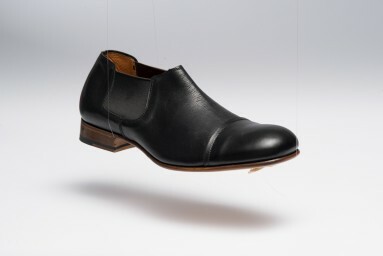
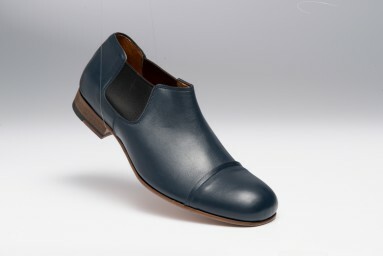
These images from needed spotting as there was a lot of dust to remove from the product. This process again was slowing down the retoucher’s time and so i took theses images and cleaned them up ready to send to the client. Some of the images were more challenging than others. The images below that look like they are hovering, were held up by invisible fishing wire so all of that needed editing out.
Progenomics – Shoot
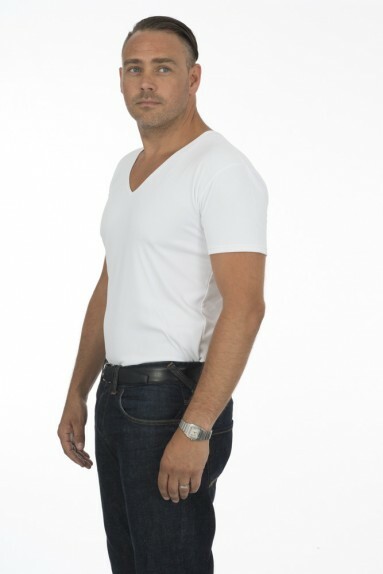
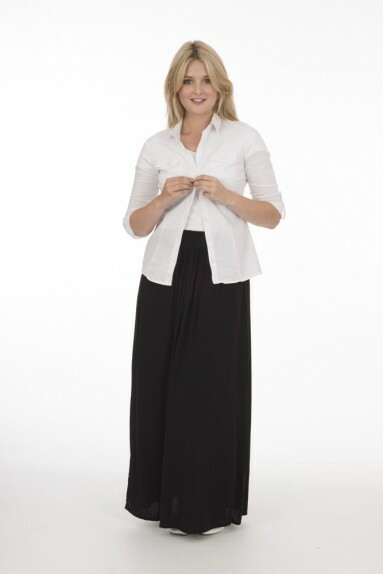
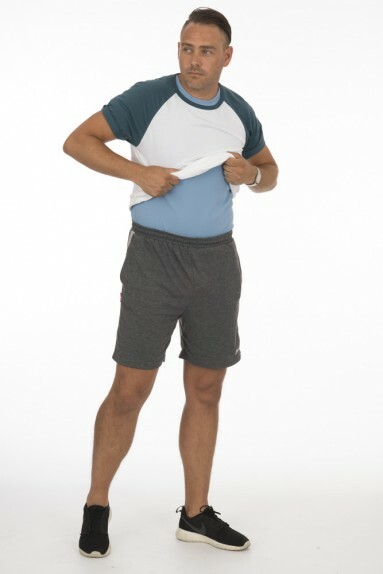
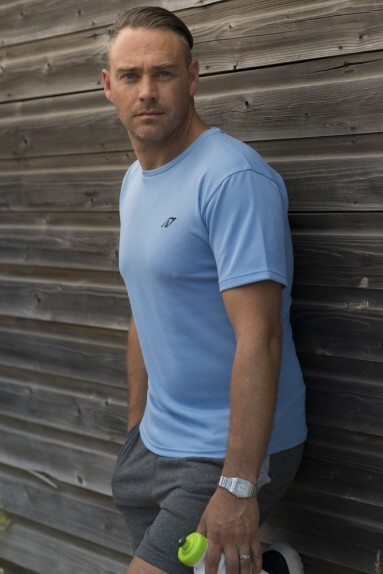
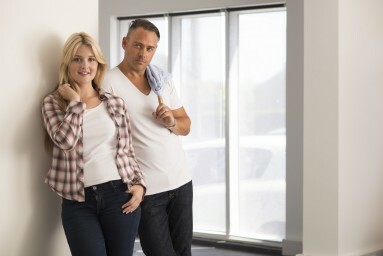
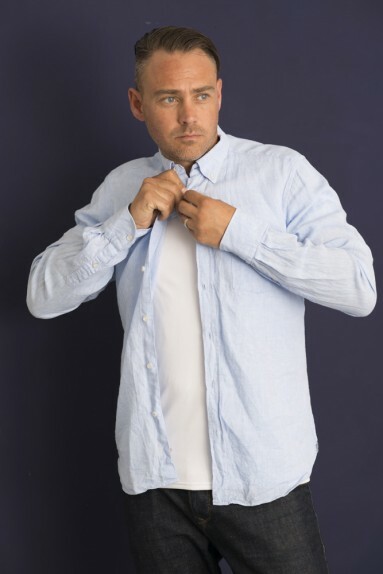
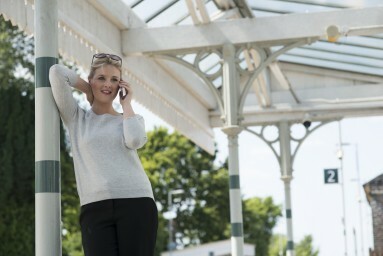
For the Progenomics shoot, we worked with models instead of mannequins this time. Previously I hadn’t worked much with models to shoot fashion, so it was good to recap on the skills that i learnt. The male model came in first in the morning and tried different ways to show off the brand. We did some mannequin shots and viewing the product on at different angles. And then they put another top over the garment, showing the product being revealed underneath and some showing that the product cant be seen under normal clothing. The female mode came in mid day and we shot similar images with her.
I have learnt so much whilst interning at Photography Firm and would like to thank them for their time.

