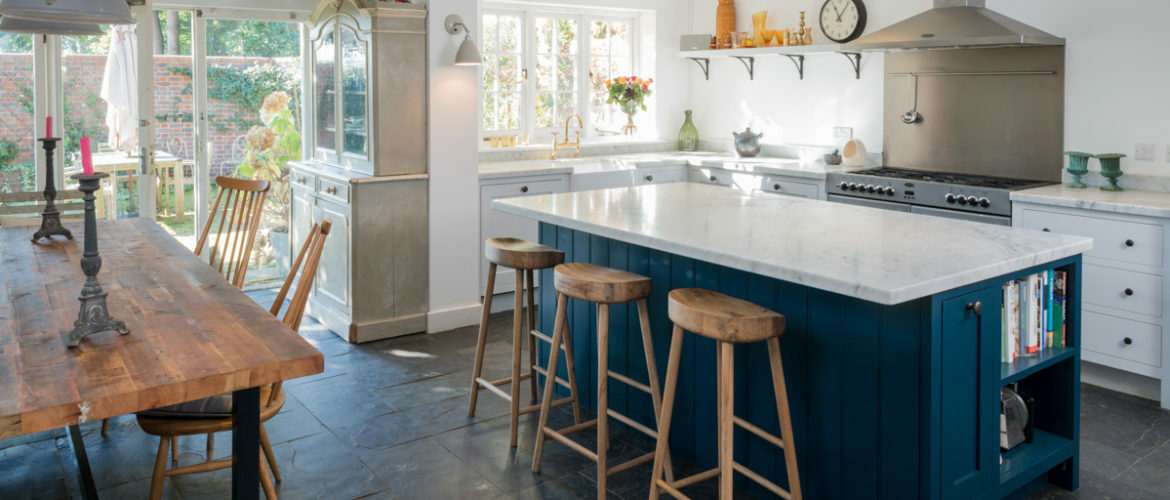
Interiors Photography: The Definitive Guide
Photographers shooting interiors are often presented with a number of unique technical challenges. And as one quick look at the photos accompanying the average online property listing will confirm, many non-professionals clearly struggle to grasp even the most basic of these problems: awkward angles; ugly reflections; underexposed interiors and overexposed exteriors; poor use of flash; and even just photographing the most uninformative or downright bizarre areas of the space they hope to promote.
Indeed amateur real estate photographers are perhaps responsible for some of the greatest crimes ever committed against the art of photography. While it’s easy to dismiss such naive mistakes as unimportant – after all, it would be unreasonable to expect every Airbnb host to possess prodigal photographic talent – the fact is that photos will often make or break a deal. And whether that deal is merely on a night’s basic accommodation or the sale of a multimillion pound luxury villa, the photos need to display the property at its very best.
Photographing interiors needn’t be such a difficult task though. Indeed, once you’re aware of the most common pitfalls and have learned how to avoid them, the majority of interior shoots will be pretty straightforward. So whether you’re a budding photographer, old photography hand wanting to move into interiors photography, or even an estate agent, architect, builder, or owner of a hotel, B&B, bar or restaurant, this guide will have you shooting professional-looking interiors in no time.
Set the Scene
How long does it take to shoot an interiors photograph? 1/125 of a second? 1/60? 1/15?
More like hours.
Not hours of exposure of course, but hours of prep. While a lot of this time will be spent getting lighting and composition just right, there’s a whole host of other important work to be done before you can even begin these tasks.
An interiors photographer is also a set builder, a prop assistant, a production manager, an art director. The chances are very slim that you will just come into a space and find it already in the perfect condition to shoot right off the bat. Even a casual-looking shot of what is apparently a relaxed and well lived-in interior will likely have been set up to a considerable degree.
How much prep you do to an interior will largely depend upon the purpose of the photographs. If the photos are primarily intended to show off the architects’ design, then in all likelihood you will not want to add very much to the room at all. At most just move some furniture around so as to provide a clear view of the design and improve composition, and perhaps turn certain lights on or off to create a better atmosphere.
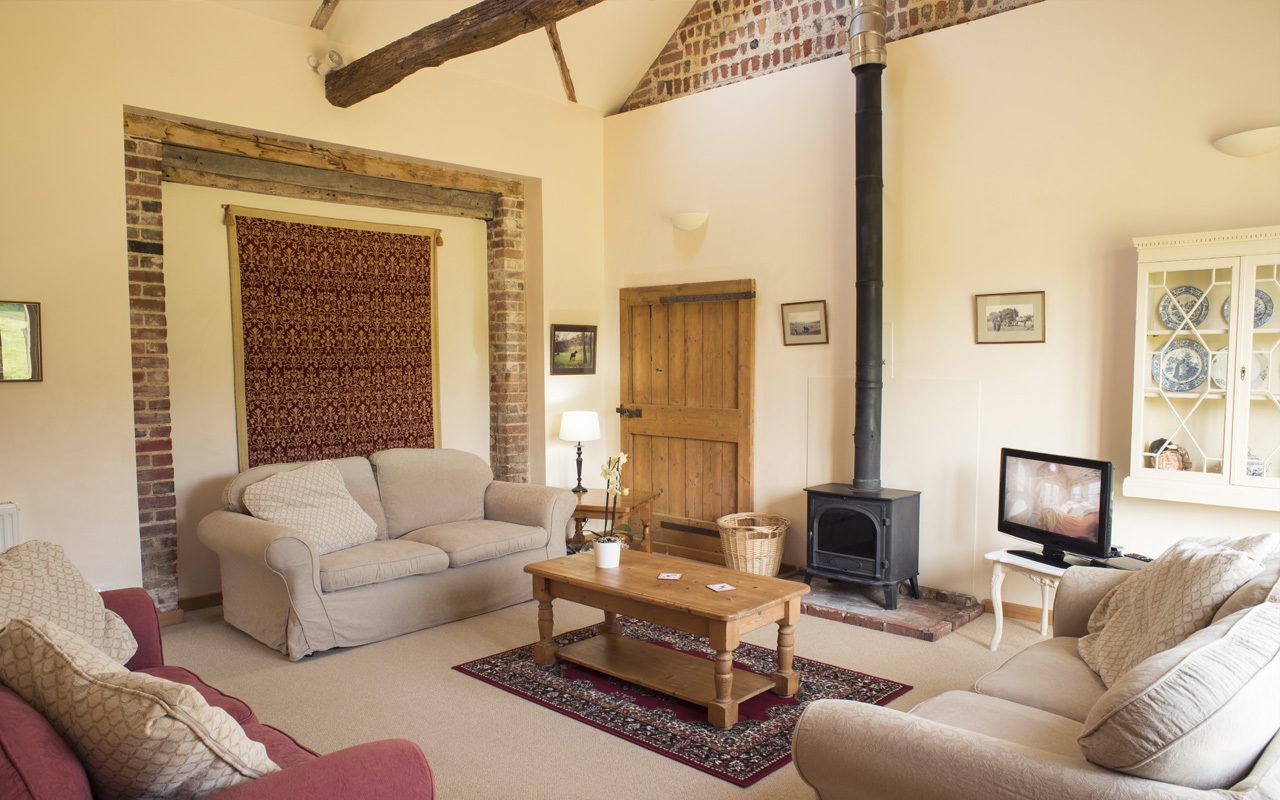
Alternatively, if the photos are intended to promote services such as accommodation or a restaurant, then the human experience of the space is likely to be of greater importance than its design. In such cases a couple of attractive personal items on a table or kitchen counter might help to add a little life to the scene, effectively suggesting a mini-narrative. But add too many objects and the shot will soon become cluttered.
In fact, just as much as adding props, set-dressing also means removing existing objects from the scene or switching them around until they work. The trick is to strike a balance between the place looking homely and inviting, while also being stylish and visually striking. And all the while retaining total credibility: if the scene looks too stage managed, artificial and formal (think towels folded like swans, or a bottle of wine and two glasses set out for who-knows-who exactly) then this will undermine all your attempts to create an appealing atmosphere.
Straight Talk
Undoubtedly the most difficult part of interiors photography – indeed of architectural and design photography more generally – is getting horizontal and vertical lines to actually look horizontal and vertical in the photos. If a window or door frame is vertical, then it should look vertical. This means that it will need to be totally in line with the edges of the photograph.
The problem is that perspective distortion (sometimes also incorrectly referred to as lens distortion) causes parallel lines to appear to converge. A phenomenon you will have seen countless times with straight roads stretching off into the distance, or when looking up at a tall building.
Just how momentous a misdemeanour converging parallels is will largely depend on what context your photos will be used in. For some quick shots when subletting a spare bedroom, you can probably forgive a few sloppy verticals and horizontals; for a more serious rental, or the promotion of a small home-business, you should try to get your straight lines parallel wherever possible or risk making a bad impression: however, for the sale of a property, or the promotion of a more serious business, the use of photos containing converging parallels is pretty much an unpardonable sin.
The simplest remedy to this problem is to position the camera square on to the subject, and at an equal distance between the highest and lowest points in the frame (or the furthest points left and right). Depending upon the lens you are using, some barrel distortion (which in this case is caused by the lens) may still be apparent, but for the most part your parallels will now be acceptably straight.
Unfortunately, not every shooting situation will allow you to position the camera equidistant from the extremes. Imagine, for example, a property with 18 foot ceilings: you’d need a very tall tripod to position the camera at the 9 foot mark – and in any case you may not want to include all of the space in the frame anyway.
While we’re on the subject, you should certainly use a tripod for almost all your interiors photography, as this will ensure that the camera is held securely in position, avoiding the risk that your framing might slip off-center. A tripod will also allow you to use a smaller aperture (f/16 or f/22) for an increased depth of field while avoiding camera-shake. Sadly though, a tripod alone will do nothing to fix the problem of converging parallels.
So how do the professionals get round this problem? Well, they effectively cheat, by using a special lens – known as a tilt-shift lens – which allows the user to move the image plane (in this case the camera’s sensor) in relation to the lens (or vice versa), thus compensating for the perspective distortion. The result is beautifully square architectural photos, free from converging parallels even when shooting a towering skyscraper from ground level.
The catch? Tilt-shift lenses typically cost thousands of pounds. So unless you’re seriously considering becoming a professional interiors photographer, realistically you’re going to have to make do without one.
Photoshop’s perspective transform function can go some way towards emulating this effect. While this will cost you a lot less than a tilt-shift lens in economic terms, it comes with a similarly high price in image quality, as this kind of manipulation will badly degrade the file when done too much.
Realistically then, you’re just going to have to do the best job you can with the tools that you have to hand. In practice this means trying to get horizontal and vertical lines looking as parallel as possible in-camera, and then maybe correcting any slight distortion in Photoshop later if absolutely necessary.
Also, perspective distortion will be much more pronounced when using wide-angle lenses, so by sticking to mid-focal length lenses you will go a long way towards minimizing this problem. As we’ll see next though, this puts us in direct conflict with another important point to consider when shooting interiors: limited shooting space.
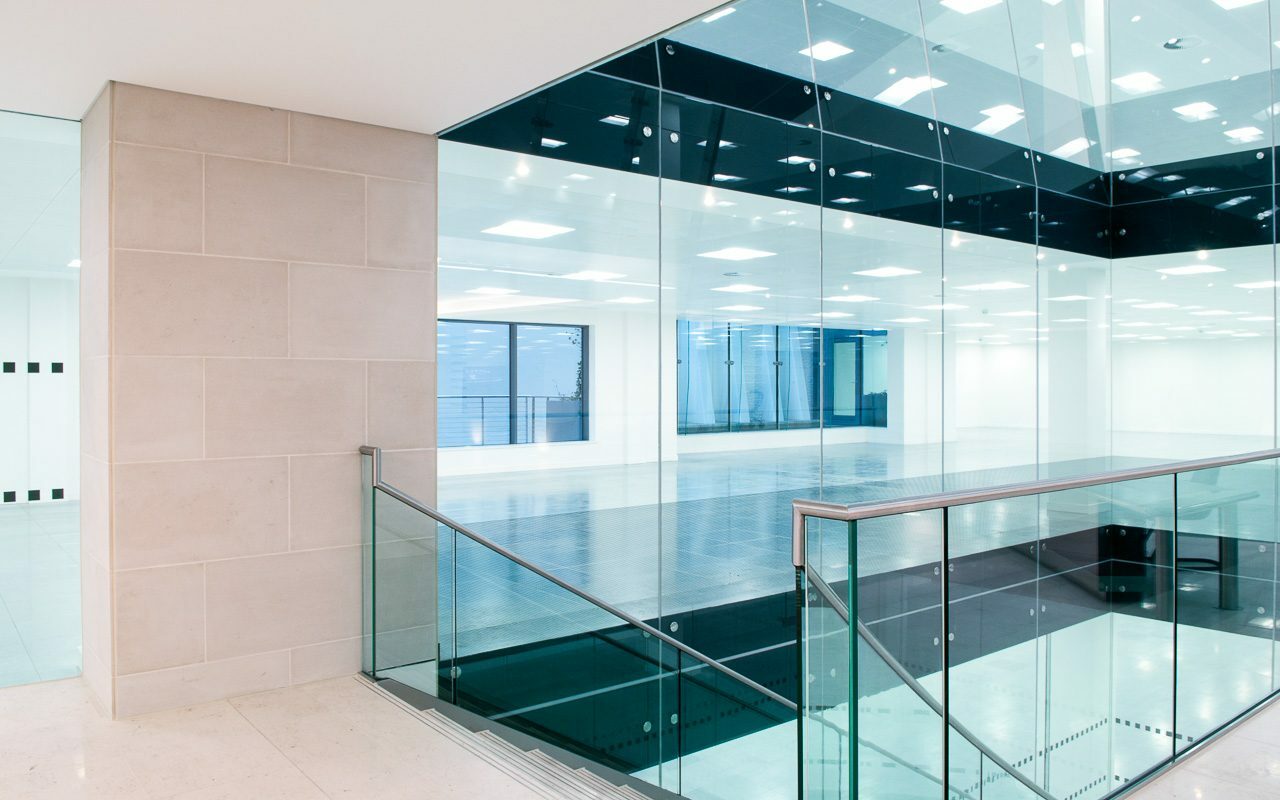
Through the Looking Glass
Perspective distortion is more pronounced the closer you are to the subject: photograph the Eiffel Tower from right underneath it and the top will appear tiny. Photograph it from Montmartre on the other side of Paris, and it’ll be in proportion from top to bottom.
The problem with interiors of course is that they are by definition limited and enclosed spaces. Very rarely will you have the luxury of being able to move far enough back from the subject to avoid all risk of perspective distortion.
Much more likely in fact is that you’ll struggle to get even half the subject in the frame before finding yourself with your back up against a wall. The obvious solution to this is to use a wider lens, allowing you to fit more of the scene into the frame. But as we’ve just noted, wide angle lenses will only exacerbate the problem of perspective distortion even further: think of those fish-eye lenses so beloved of ’60s psychedelic bands or skate and snowboard photographers. Unless you particularly want the walls to bow out like a rubber ball, the extreme wide-angle optics are best left at home.
The bad news is that – beyond using a tilt-shift lens – there really is no simple solution to this problem. You will frequently need to use a wide angle lens in order to get a sufficiently extensive view of a room in the shot, and this will increase the problem of perspective distortion.
Photography could be described as the art of compromise. A professional photographer is a person who has sufficient technical knowledge and experience to find the best possible midway trade-off to all the conflicting demands and limitations of light/time/space/camera. In the real world, shooting conditions are rarely ever perfect. So to effectively photograph interiors you will need to work with these limitations: try to set up the camera as square-on as you can when using a wide angle lens; use the longest focal length you can get away with without excluding too much from the frame; use a longer focal length (50mm and beyond) to photograph close up detail shots.
Go Deep
The primary purpose of interiors photography is to clearly represent a space in informative detail while also showing it in the most appealing light. You want the space to look attractive, while the viewer wants to gain as much visual information as possible about the location.
You can satisfy both of these criteria by shooting with a small aperture (say f/22, if your lens will go that far) so as to create a deep depth-of-field. In effect this means that everything in the frame will be sharp from foreground to background. This is especially important for wide views of an interior, where out of focus areas would be both frustrating and disconcerting for the viewer.
With that said, there’s no reason why you shouldn’t augment the more functional and informative general views of a space with a few more arty and atmospheric images, such as close ups of design features. As these shots are more about creating an appealing mood than displaying descriptive detail of the location, a shallow depth of field would be entirely appropriate here.
Let There Be Light
Nobody wants to live in (or even just visit) a gloomy, airless cell. We can probably take it for granted that a room will have walls, so in general shooting a large expanse of empty wall and little else will not be particularly informative for viewers. Windows, on the other hand, are something that many of us value a great deal. So if a room has windows, show them.
Not only that, but make sure that any curtains or blinds are open when you shoot, so that light from the exterior comes into the room: ideally in the daytime, because empty blackholes will not create a particularly cosy or inviting atmosphere. And the effect will be even worse if the lack of daylight forces you to use flash, and this in turn bounces back off the windowpanes as ugly reflections.
If you really must use artificial lighting to illuminate a space, don’t be tempted to use the flash mounted on top of your camera, as this invariably creates a harsh and unflattering quality of light that will make your interior look more like a crime scene than a desirable bit of real estate.
Better results will be had by using two studio flashes mounted on stands and placed just out of shot on either side of the room. But rather than shining the light directly onto the scene, instead point the flash-heads upwards. This way the ceiling will act as a reflector, bouncing the light evenly around the entire room, without casting hash shadows or leaving any areas in the dark.
Be aware though, that if the ceiling is painted a colour other than white, there is a strong possibility that this colour will influence the tone of the light that it reflects onto the room. However, assuming the problem is not too pronounced, a colour cast such as this can usually be corrected fairly easily in post-production.
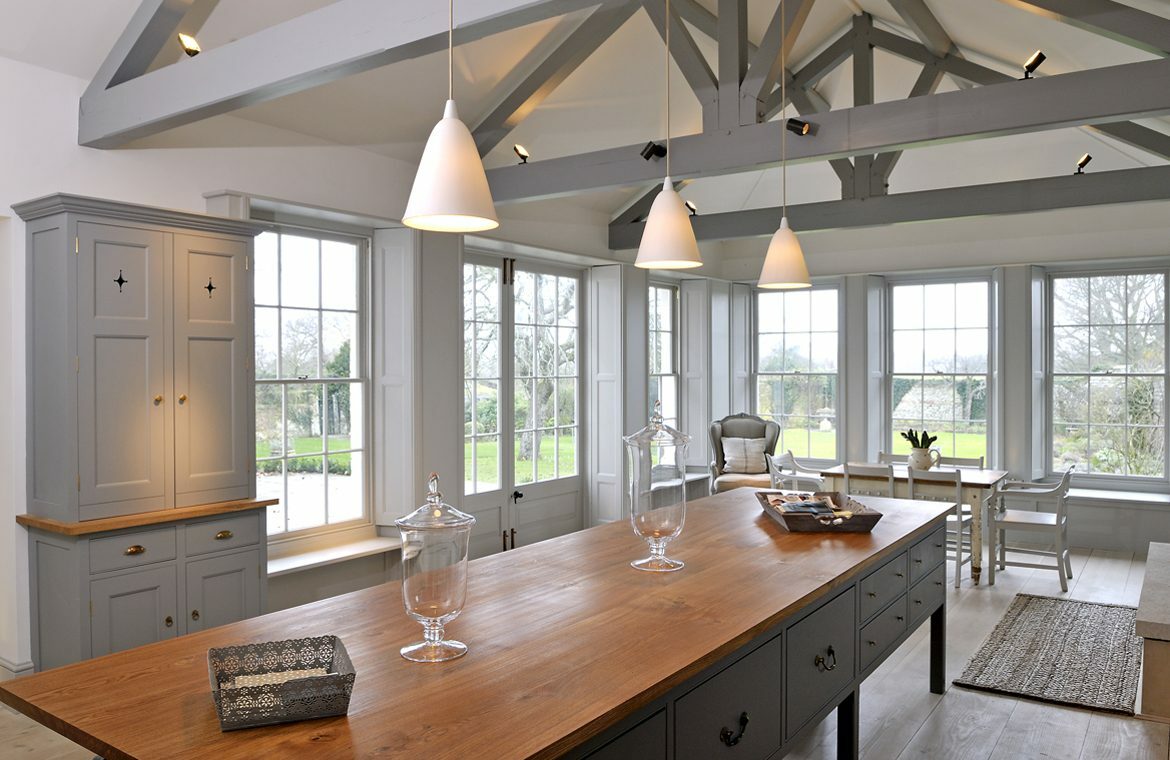
Beyond getting your images fully square, one of the greatest challenges of interiors photography is balancing the differing lighting situations between interior and exterior when the exterior is visible outside windows or through doorways etc. If the contrast between interior and exterior lighting levels is too high, the camera will not be able to cope with such an extreme exposure latitude.
In such a scenario you would be forced to choose between (A) a correctly exposed interior but with white holes where a view of the garden or street out the window should be, or (B) a perfectly exposed view out the window but with a gloomy interior. While clearly the former would be the better option for our purposes, neither is truly satisfactory.
Sadly many inexperienced photographers choose to resolve this problem by going the HD-route: darkening down the exposure of the exterior in Photoshop or by the use of apps. Invariably the results are trashy looking, with very evident haloing around the window frame. What’s more, the worst culprits often make the exterior even darker than the interior! Let’s just say that the likelihood that a room lit solely by daylight bouncing in from outside could be brighter than the source of light itself – i.e. the exterior – is pretty much zero.
Again, the solution lies on the middle path: a compromise between all the conflicting demands of the shoot. For example, you can make things easier on yourself right from the start by shooting at a time when the contrast between interior and exterior is at its lowest: late afternoon for example, or on an overcast day. If this doesn’t solve the problem, then clever use of reflectors will help to bounce a little more daylight into the space. Finally the remaining difference in exposure between inside and outside can subtly be reduced in Photoshop later.
In reality though, the greatest degree of control comes through skillful illumination of the interior with artificial lighting mimicking the look of daylight. Here you decide how bright you want the interior to be in relation to the exterior.
It’s worth noting however, that if there are some small spotlights, table lights, or other light fittings that will be visible in the shot, it’s often best to switch these on when using studio lights, as it can look strange to see a fully illuminated room but with all the lights apparently switched off. Be aware though that unless they are daylight balanced, domestic light bulbs will display a colour cast. Depending on how dominant these smaller lights are in relation to your main light source (daylight or studio flash), you may need to alter your white balance setting appropriately.
Unfortunately though, good use of photographic lighting is not a skill that can be learned overnight. And so if you’re just starting out with photography, your safest bet at this point is still going to be to work as best you can with the existing ambient light in the space you are shooting.
Fit the Format
Last but not least, consider the final uses of your photos before you shoot them. While landscape (horizontal) format will likely work best for most web applications, print media such as magazines will often need portrait (vertical) format images to fill a single page (although some may also want landscape shots for use across a double page spread).
Final Thoughts
Interiors can be a technically demanding, yet highly rewarding, area of photography to work in. Indeed, as we’ve just seen, there are many important elements to take into consideration before you even get close to pressing the shutter. Yet for those happy to make the effort to overcome the relevant challenges, interiors photography needn’t be a technical nightmare and can be mastered relatively quickly.
For anyone either unwilling or unable to put in the requisite time and energy though, here at Photography Firm we specialise in shooting high-end interiors and architectural photography for a wide range of clients. So if you have a project you need help with, feel free to get in touch and we’ll be happy to put together a quote.

Thank you for such an interesting article, there is such a lot of food for thought, it has inspired me to rethink interior photography.