
Straighten and Transform your Shots with Ease in Adobe Lightroom
Ok, so New Year’s Day swung around once again and with that hangover came the resolution to try harder to remain on the straight and narrow (if you make it to February, you’re doing ok…)
Well Adobe have added a very handy feature to Lightroom to help you go straight….. at least as far as your photography’s concerned – You’ll only beat the booze, junk food and cigarettes with willpower we’re afraid, there’s no update for that yet!
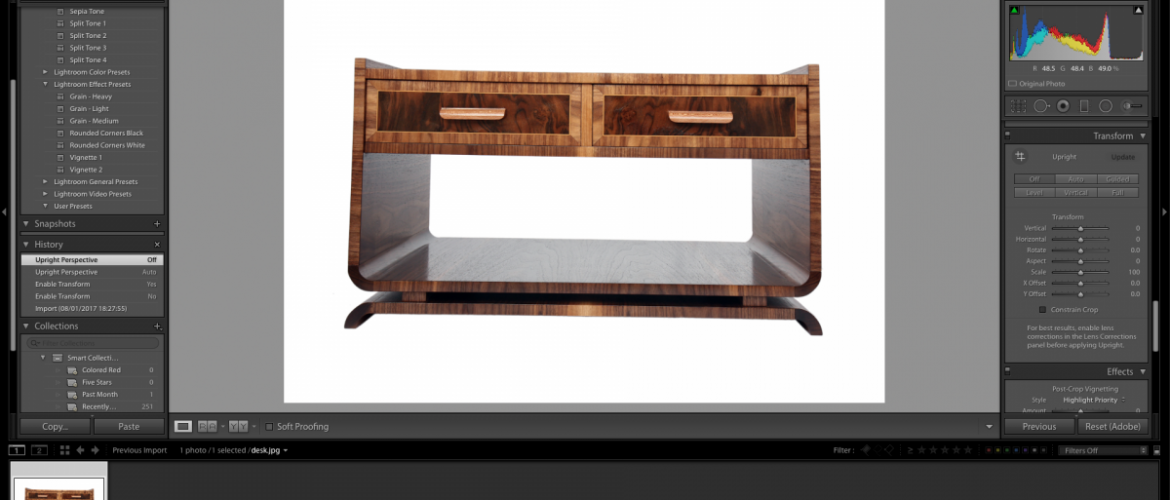
Whatever you’re shooting, it’s quite likely you’ll be composing shots according to horizontal and vertical points of interest, be they corridor walls in a portrait, the horizon in a landscape, a table top in a product shot etc. Whilst it’s best to get as “straight” as you can when shooting, the reality is sometimes you may have to compose quickly, or perspective distortion and axis misalignment are not particularly evident on a small LCD screen or viewfinder. Lightroom now provides tools which let you quickly and easily “correct” the axes of your images and iron out distortion caused by shooting angle, lens etc. The following product photography image shows a piece of furniture we shot on a white background in the studio, then cut out in photoshop.

It’s immediately clear the image needs some rotation to bring the drawer top and base horizontal, but there’s also some distortion causing the vertical axis to converge towards the top of the image.
Opening the image in Lightroom, we head to the Develop module and scroll down to the Transform tab in the tools panel. Firstly try hitting the Auto button to see what Adobe thinks your image should look like. Their algorithms are better than most of our New Year’s resolve so you may find that one click is all it takes to straighten out your woes. Whilst not 100% perfect on every conceivable axis, the second image below shows just how sophisticated this tool is.


When manually making adjustments, we opt for Guided mode, whereby you can draw up to 4 straight lines along off-horizontal and off-vertical elements to wrestle the whole into order. In the example below, you can see how the first line pulls part of the image into horizontal alignment, but it takes the rest to get everything nice and square. The drawing system is simple and intuitive, consisting of axis lines made by plotting two points which can be re-positioned with great accuracy. Once we’ve got our main subject straight, it’s easily repositioned centrally using the X and X Offset sliders.


It really couldn’t be much simpler and we love it, especially when tweaking myriad product photography shots where flawless is the name of the game.
Oh Adobe, we love you so.
Thanks for reading.
