
Getting those whites truly white
In this post we’ll show you a quick and easy method of getting your whites WHITE, without the need for Shane Richie to turn up on your doorstep with a box of Daz… in 1995. This trick predominantly comes in handy for product photography, but its applications are widespread. Adjusting your backdrops to be pure white may facilitate cutting out your items or simply give them a cleaner, punchier look. Certain online marketplaces such as Amazon have a strict code for image submissions, whereby “almost-white” is inadmissible, so ensure you don’t waste time or lose sleep when there’s a surprisingly simple fix.
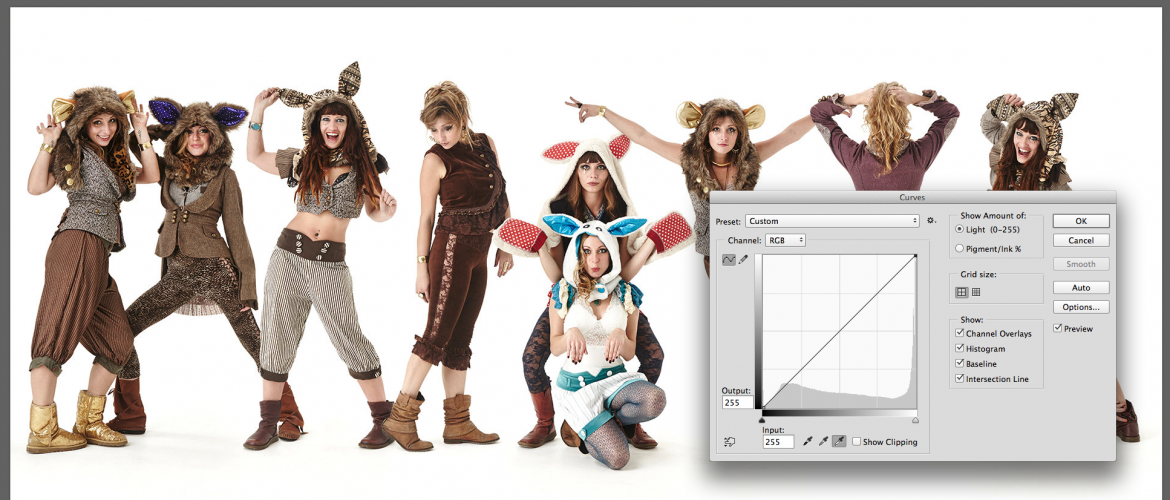
The first thing to note is that the closer you can get your backdrop to white IN-camera, without over-exposing the product itself, the less you’ll need to do in post and the better your results. Check our blogs on Shooting Invisible Mannequin Clothing and Lighting Tips for Shoe Photography for some applicable advice. Once you’ve got your images open in Photoshop, you’ll be using the CURVES tool which is accessible through the IMAGE > ADJUSTMENTS menus or by hitting cmd+m (mac) or ctrl+m (pc). However, we’d recommend you make these alterations through a curves adjustment layer as your edits will be totally non-destructive and can be selectively undone. As illustrated below, the principle of this trick is clipping those “almost-white” tones until they are pure white (CMYK values of zero across the board).


The darker your product in contrast to its surroundings, the less you will notice the effect of shifting the histogram in this manner, but if it contains tones similar to those from which you are setting a white point (eg. a piece of light cream clothing), its pixel data will also be affected when you clip the backdrop. This is why we recommend using a CURVES adjustment layer for this trick, whose effect can be then be painted back out on the product itself. If that last bit’s left you more confused than the people who opened their door to Shane Richie, check out our post on Using Adjustment Layers in Photoshop and for a more detailed explanation of Histograms, see How to Read Histograms.
Whilst we’ve demonstrated its specific use within product photography, this tool could be used to quickly alter skin tone, whiten teeth or adjust a landscape exposure.
Finally, if you want a sure-fire way to see what’s pure white on your image, use the THRESHOLD tool available on the adjustment layers palette. By pushing its sensitivity right up, you will starkly highlight areas (displayed in black) which stiil retain pixel data, however light in tone. You can then use it in conjunction with the CURVES layer or even a white paintbrush on your image layer to ensure your results are flawless, Given the deviation between different monitors and displays, this could reveal problem areas you might not notice but a client will…. the digital equivalent of walking around with your fly open!
Happy snapping friends!
